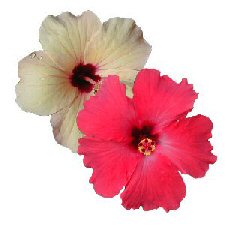
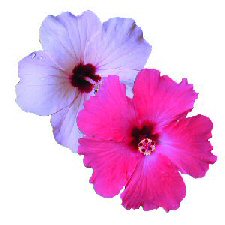
One way to make adjustment on an individual layer is to pull the adjustment layer down to be above the layer to be adjusted. Another way is to add a group layer. To do this exercise we added another flower to a new layer. A layer group was created by right clicking on the new flower layer and choosing "New Layer Group". To add the adjustment layer, we now clicked on the flower layer that is within the layer group and made Brightness/Contrast adjustement.
Making Adjustments using Channel Mixer
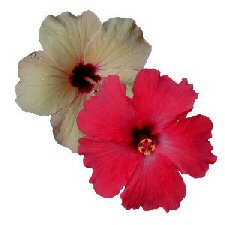
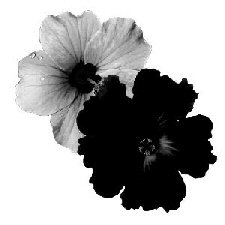
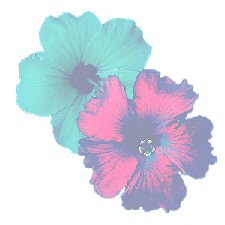
Right clicking on the top flower layer, we choose "New Adjustment Layer/Channel Mixer to to the following exercise. First we made changes to only one color channel at a time. I am just finding it was easier said than done, to really have only one channel changed at a time. One that I had noted to have been changed only Blue 200 on Blue channel, had in reality first had red channel - red set att 33 , then blue channel - blue set at 200. I double checked these 3 and did one channel at a time, then did an "undo" on the image before trying again, so hopefully this is correct.
 |
|
 |
|
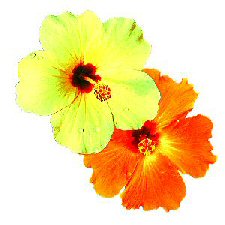
Red channel - red 33
|
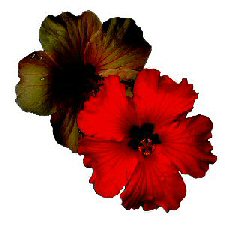
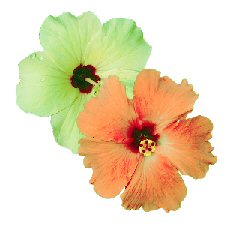
Green channel - green 150 |
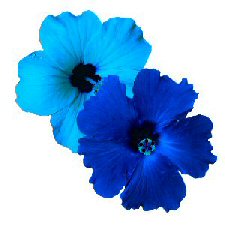
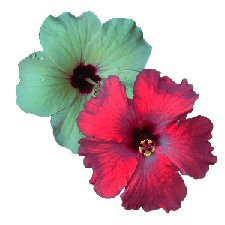
Blue channel - blue 200 |
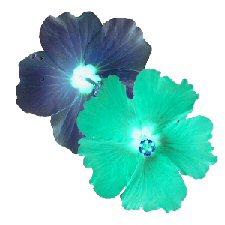
Mixing the channel settings
 |
|
|
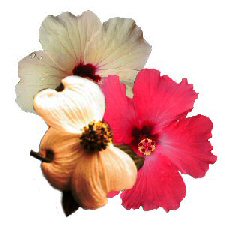
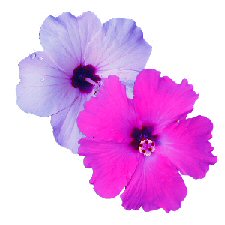
Red channel: Red 0; Green 200
|
Red channel: Red 33
Blue channel: Blue 200
|
 |
 |
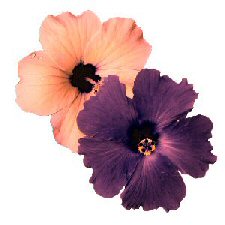
Red channel: R 200; G -120; B 50; Const 0
Green channel: R -25; G 100; B 150; Const 0
Blue channel: R -70; G 25; B 150; Const -12
|
Turned Monochrome on first, then
Red 175
Green 100
Blue 100
Constant on 0
|
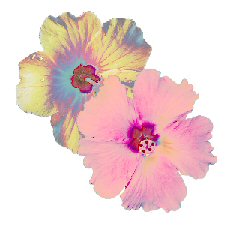
Adjustment with Curves
To do this you add an Adjustement Layer / Curves
You can make adjusment on the RGB channel or each color channel separately.
You can add more nodes or handles to the line, and in my last example I had added 3 nodes, for a total of 4. I should have saved this setting, because although I had an input number and output number, the same effect does not come up when you type in those numbers. Where those nodes were positioned made the difference in the result.
|
|
|
Red Only
Input : 225
Output: 145
|
Green Only
Input: 40
Output: 150
|
Blue Only
Input: 30
Output: 175
|
|
|
|
The settings from the 3 above images'
color channels combined
|
RGB Channel only
Input: 5
Output: 251
|
This is the one I added nodes for a total of 4
Input: 186
Output: 206
|
Experimenting with Blend modes.
The image consists of 5 layers: A colored square on each of 4 layers,
the squares overlapping a little. Then a textlayer on top.
Changing blendmodes on the text layer made the following differences:
 |
|
In this first one, the blend mode for all layers are "Normal" |
 |
 |
 |
|
Blend mode: Difference
|
Blend mode: Soft Light
|
Blend mode: Hue
|
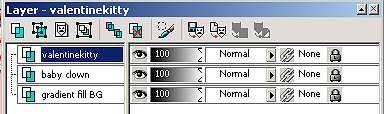
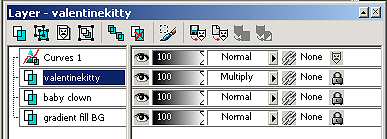
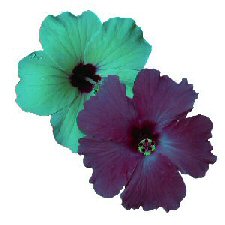
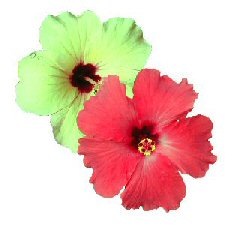
"Extra Credit"
I created an image with a gradient layer and 2 layers with a tube on each.
I added an adjustement layer / curves: RGB only: Input 180; Output 125.
I also changed the blend mode on the kitty layer to "multiply".
The first picture is the "original", the second pictures has the adjustments made.
My Home Page