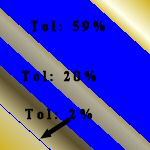
Gradient background fill, then solid color fill with different tolerance
Gradient background fill, then solid color green fill with tolerance 25%
Gradient background fill, then solid color green fill with tolerance 50%
Gradient background fill, then solid color green fill with tolerance 75%
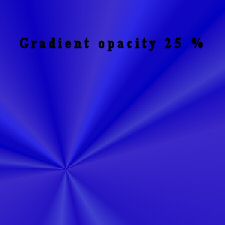
As in the lesson: Blue background and gradient on top at opacity 25.
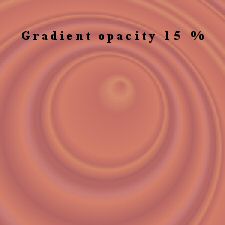
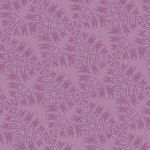
More of a pink/mauve background and gradient on top at opacity 15.
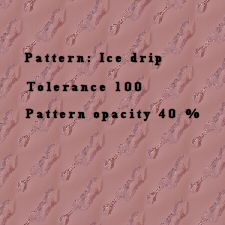
I think the background was the same as previous graphic then floodfilled with a pattern on top at opacity 40.
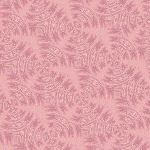
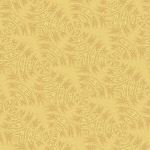
Original pattern background.
The pattern background with solid yellow floodfill at opacity 40
The pattern background with solid navyblue floodfill at opacity 25
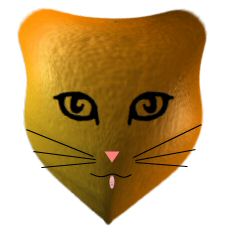
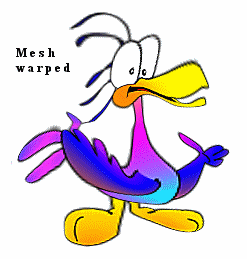
Mesh Warp
My version of lesson example - Orange Cat
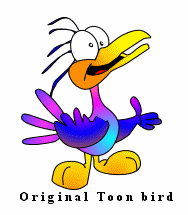
Original shape of a Toon bird to the left, and to the right, it has been tweeked with the warp mesh
Warp brush
First examples from the lesson
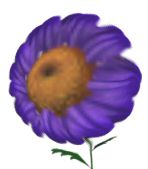
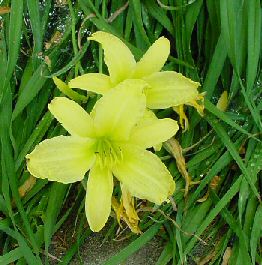
Expanded Daisy. The brush was large enough to cover the entire Daisy. I held it still while pressing the mouse button, until it looked like this
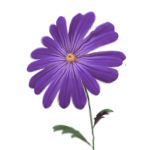
Contracted Daisy. Used the tool mostly in the middle.
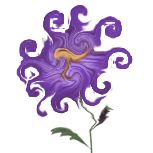
Twirled both right and left. I held the mouse button down and just held still in each spot, until a nice twirl showed.
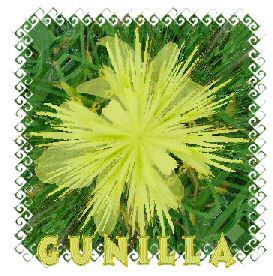
My own example
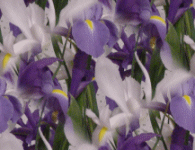
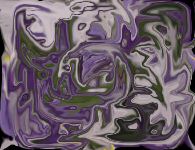
I took the image I have been using as background of my class pages. Used the warp brush. Tried several settings until the colors swirled together. Then I made a seamless tile of the warped image. Used the seamless tile as background on this page.
Filters
This is how I made my filtered picture: Original is background. Duplicated the background. Select background apply filter: VM Distorion/ Tumbler. All settings at 128. Select copy of background. Set blendmode to Lighten, opacity to 70. Added frame. Added my name. Put the layer with the name through the filter: VM Experimantal/Deep Crunch. I took whatever settings came up. :-p. Save one copy as PSP with all layers, and exported to jpg.