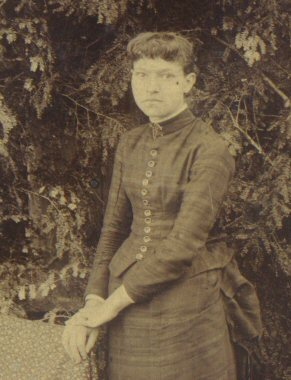
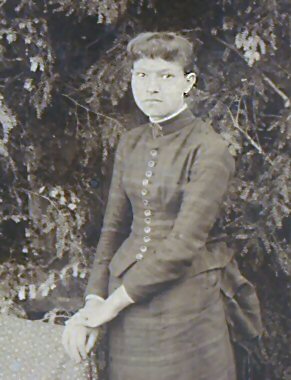
Scratch Removal |
 |
 |
Before |
After |

|
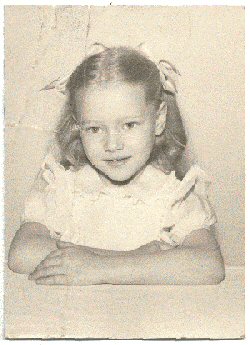
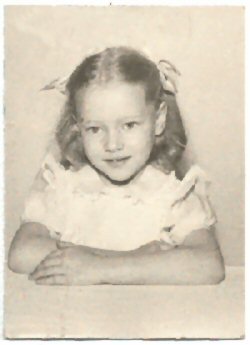
Lightening and Brightening |
 |
 |
Before |
After |
I am not sure if I got all the steps written down here, but this is what I have:
- First I did Brightness/Contrast with Brightness set to 20 and Contrast to 15.
- Then I did Color Balance/Auto Color Balance with Strength at 15, remove color cast checked and Temperature 6500.
- Next I used Sharpen brush set at 50 to cover the whole face.
- And last, Edge Preserve smooth with setting 3.
|
|
|
Move an Element |
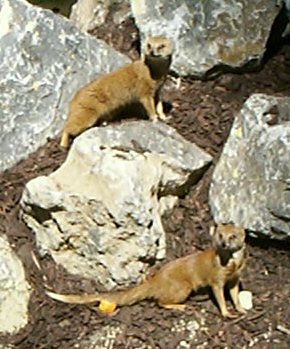 |
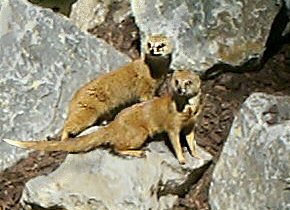 |
This is how my attempt to move an animal turned out (to the right). The emboss tool has been applied to the background to tone down the glare. I did try some gamma correction and Hue saturation-lightness, but didn't care for the result. I did apply the sharpen brush to the animals. |
|
|